Choose storage for the whole cleaner, not just its body
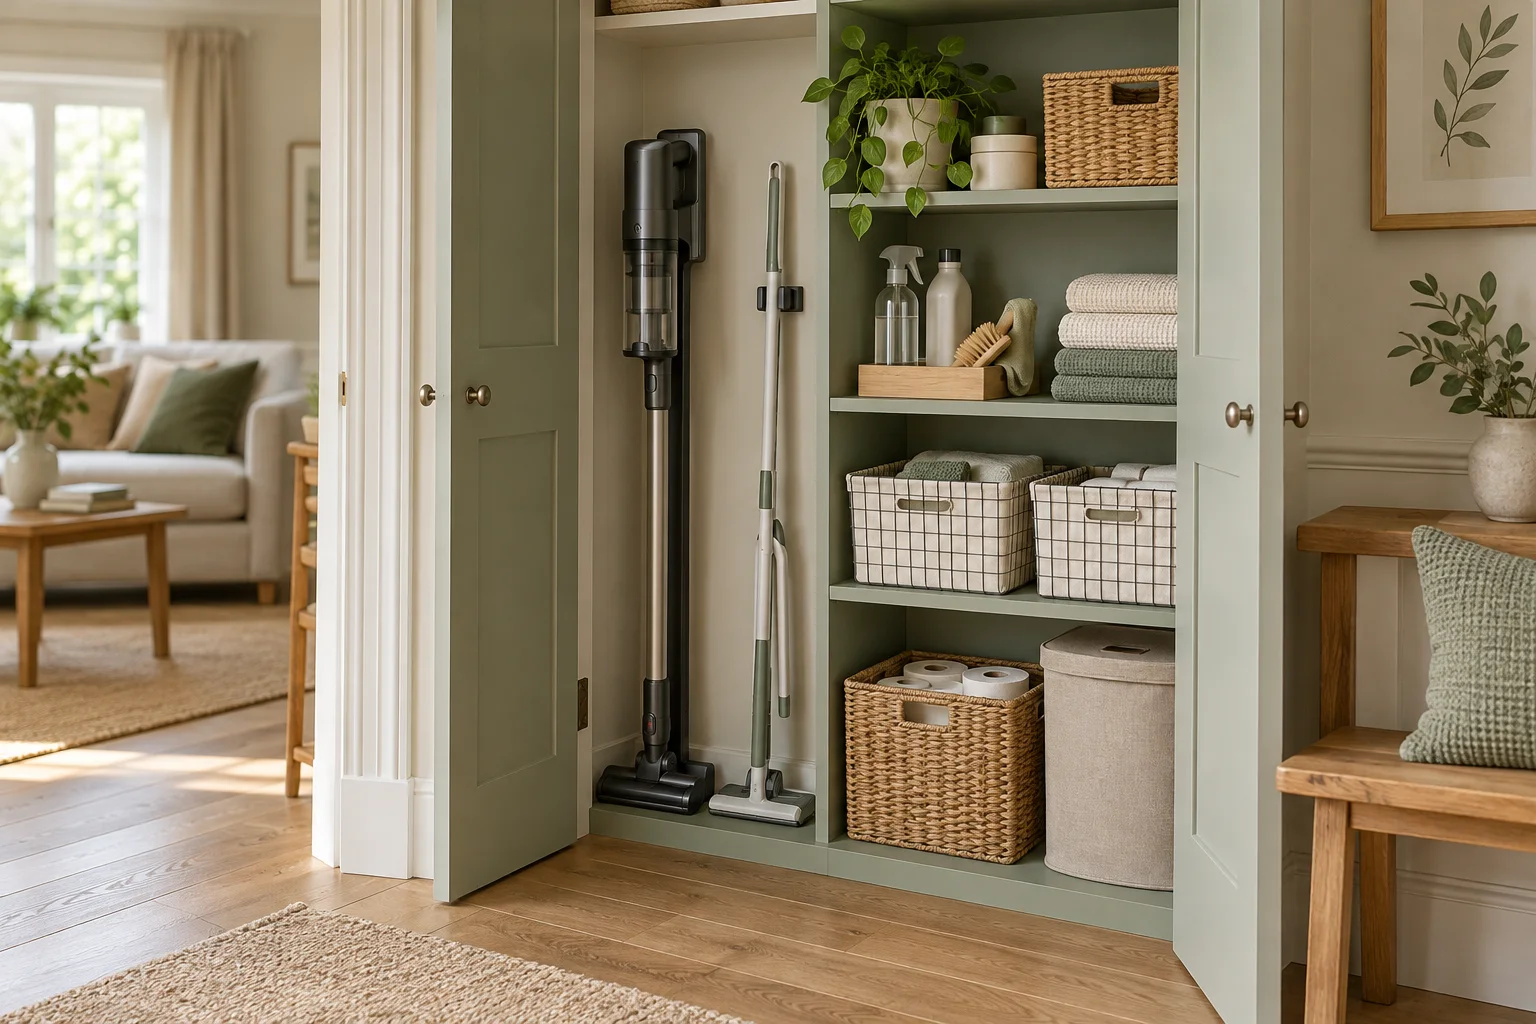
Measure the appliance, accessories and servicing space before giving up a cupboard or hallway corner.
Updated:
Inventory the pieces you will actually keep
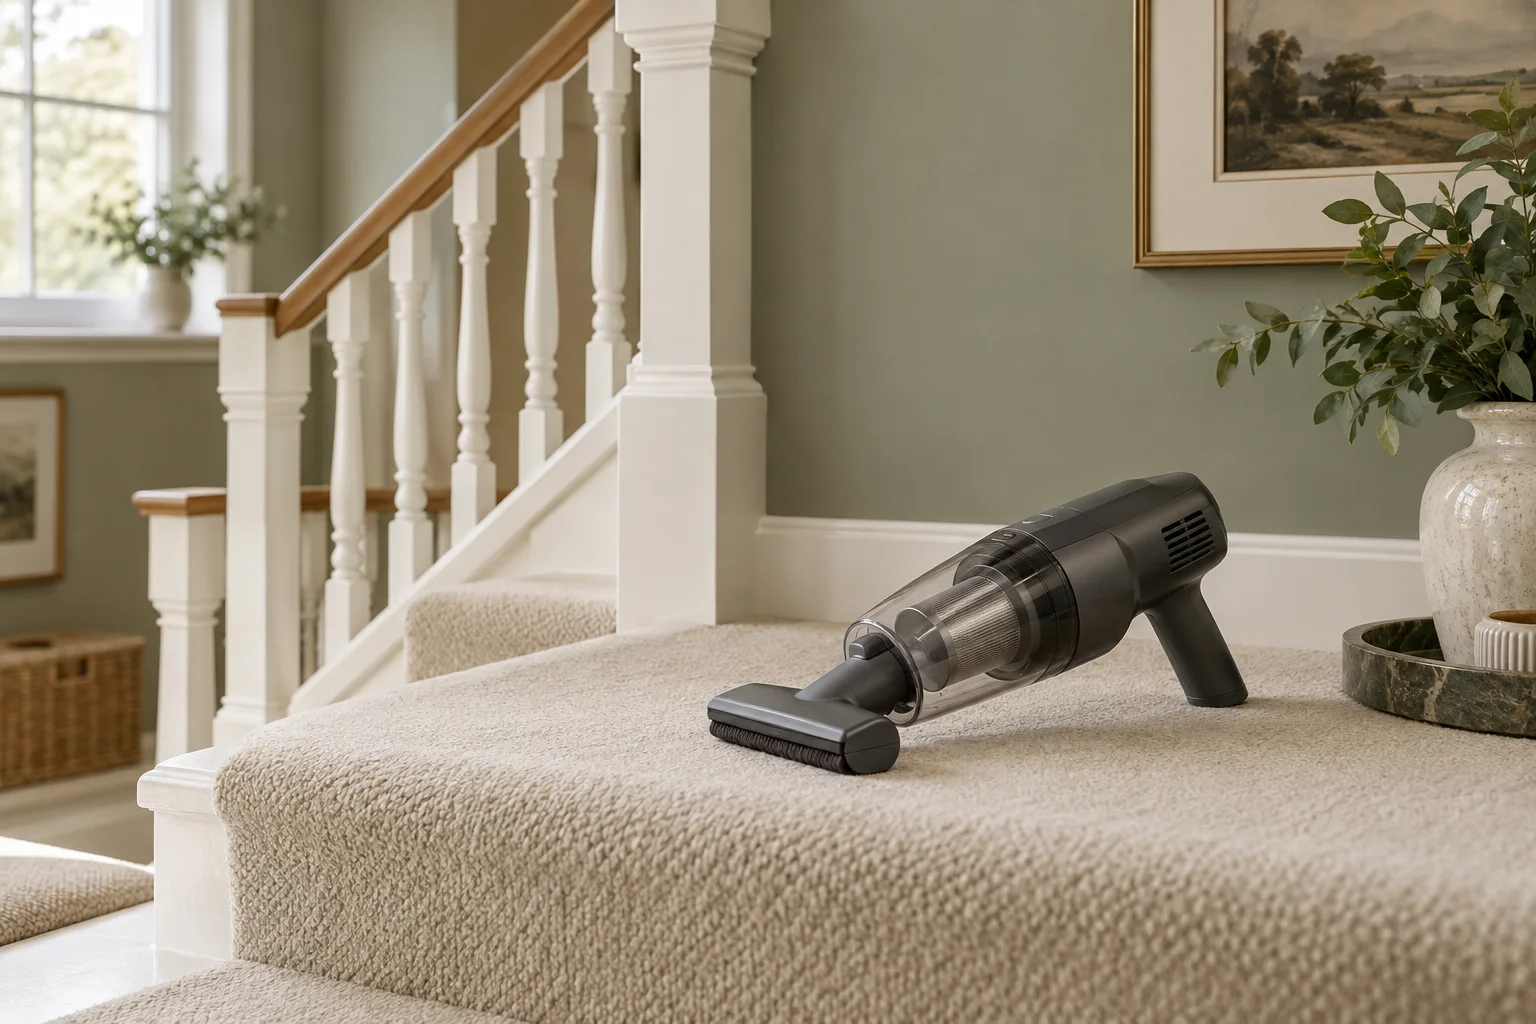
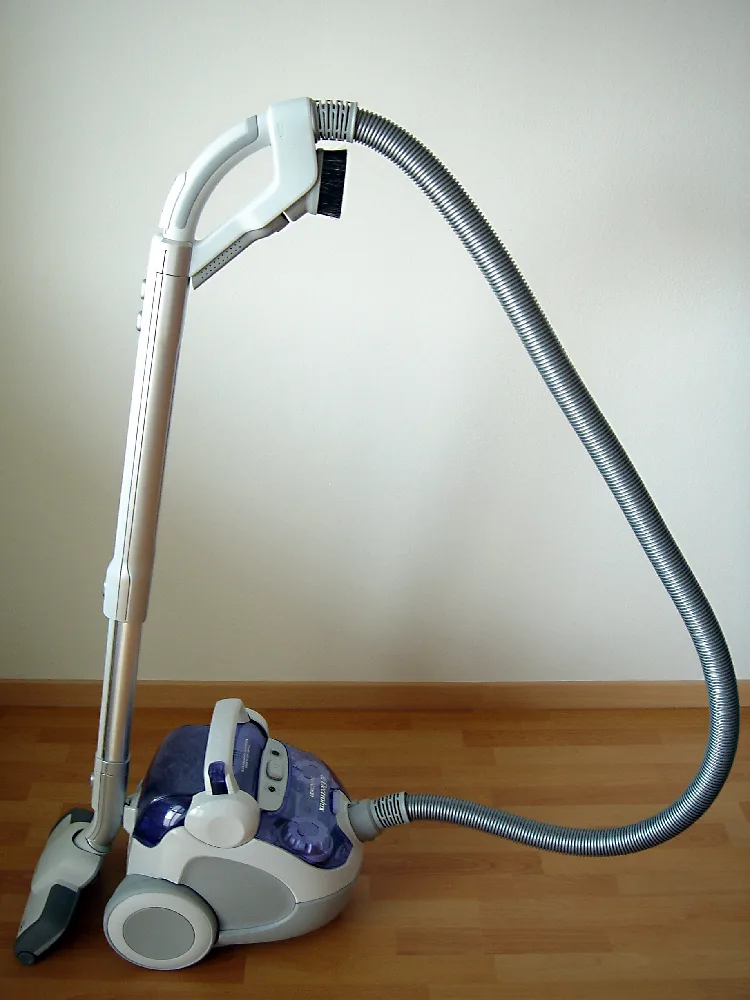
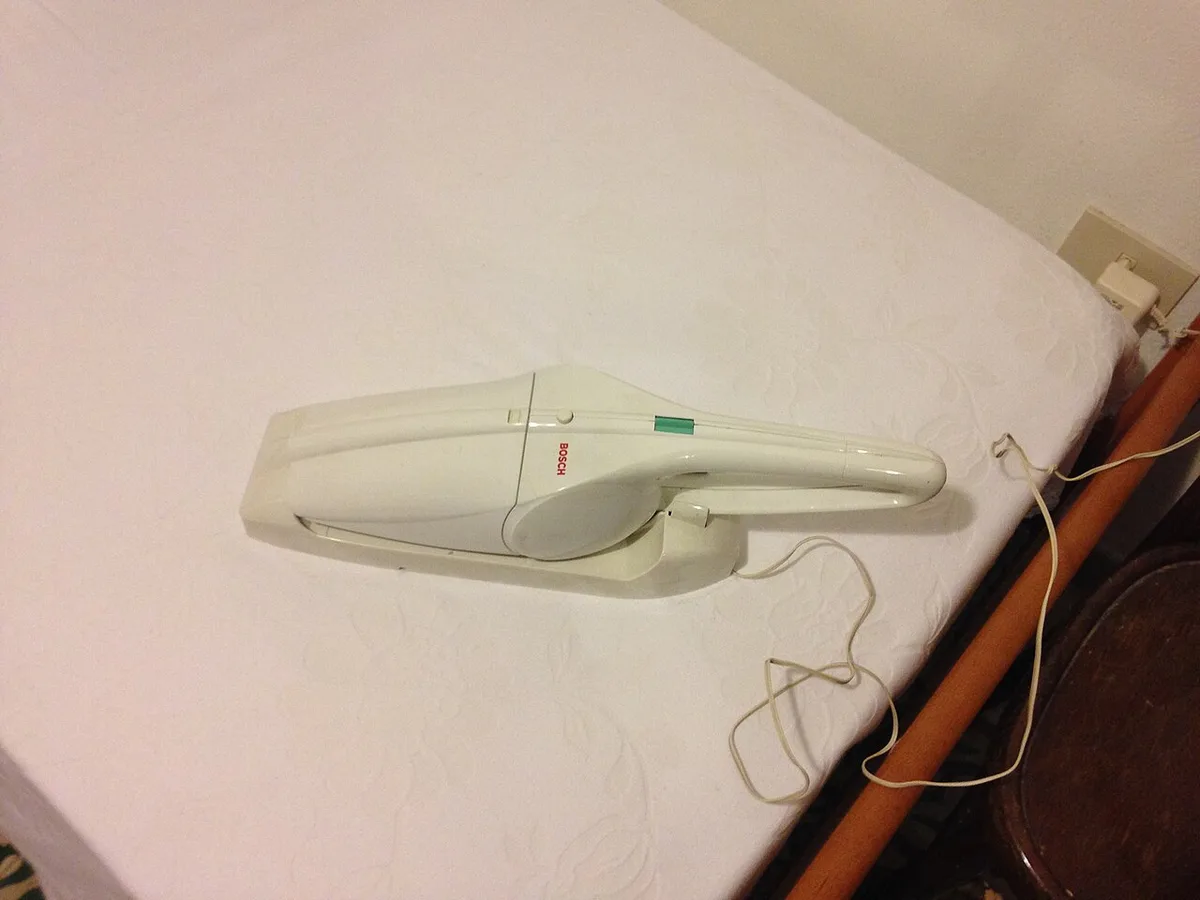
A compact cleaner can still arrive with a long wand, several attachments, a charging arrangement and consumables. List the pieces included in the package before comparing storage footprints. The cylinder photograph shows why a body measurement alone misses the hose and floor head; the handheld photograph illustrates a different physical arrangement rather than a current product recommendation.
Decide which accessories you need within easy reach and which can be stored elsewhere. Do not discard useful documentation or an essential fitting merely to make the first layout look tidy. Keep the appliance instructions with the model reference so the storage arrangement can be checked against the manufacturer's requirements.
Measure the door opening as well as the shelf
A cupboard may have enough internal space while its opening is too awkward for the assembled appliance. Measure the clear opening, interior dimensions and the route for lifting the cleaner out. Include the handle and any attachment that remains fitted in your planned routine. Avoid relying on a product photograph to establish a dimension.
For a hypothetical shelf 60 centimetres wide, a 35-centimetre body and a separate 20-centimetre accessory box leave 5 centimetres unused across the width. That simple arithmetic does not prove the shelf can safely support the load or that the arrangement meets the appliance instructions. It is a sketch to identify what must be checked next.

Count the effort of getting ready
Assume retrieving the body takes 1 minute, finding the correct attachment takes 2 minutes and connecting the permitted setup takes 1 minute. Preparation is 4 minutes before cleaning begins. If that occurs five times in an assumed week, storage adds 20 minutes to the routine.
The example is not an argument for leaving equipment in a walkway. It is a reason to organise the required pieces together in an appropriate location. Compare a tidy but complicated arrangement with a simpler one that still follows the manual. A storage choice that is easy to restore can be more useful than one that looks compact only when every part is carefully rearranged.
Keep charging and drying requirements visible
Do not assume that a closed cupboard is an appropriate charging location for a particular appliance. Follow its charging and storage instructions. A robot base also needs operating room: iRobot's referenced Home Base guidance calls for an open, level area, so a robot that fits inside a niche is not automatically ready to work there.
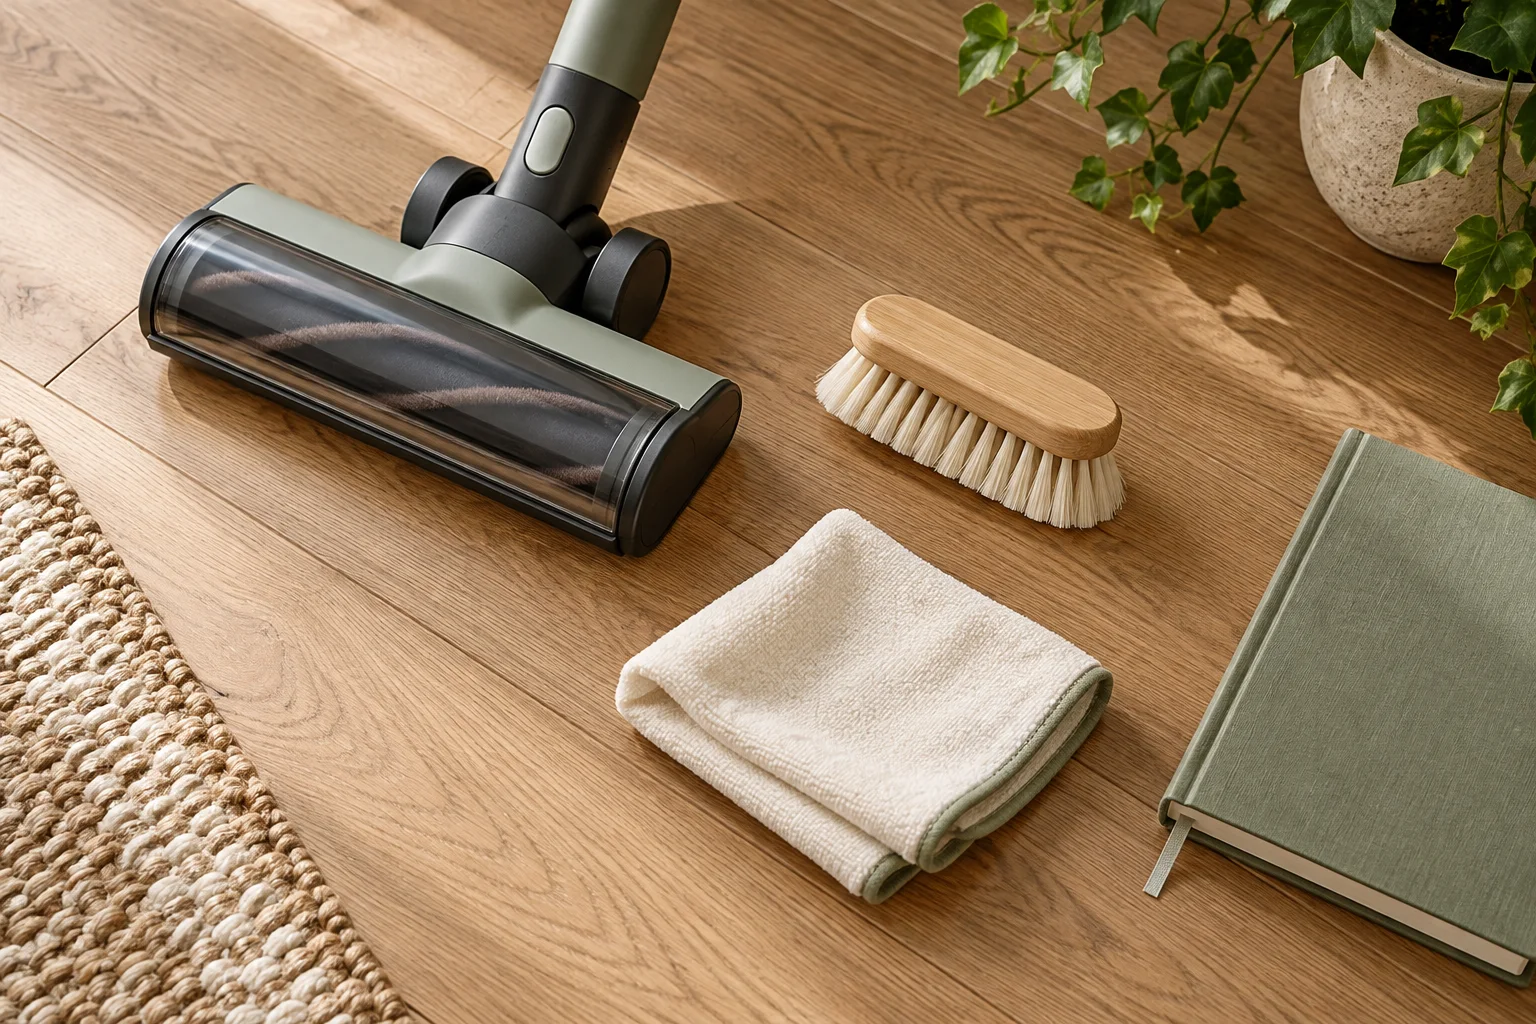
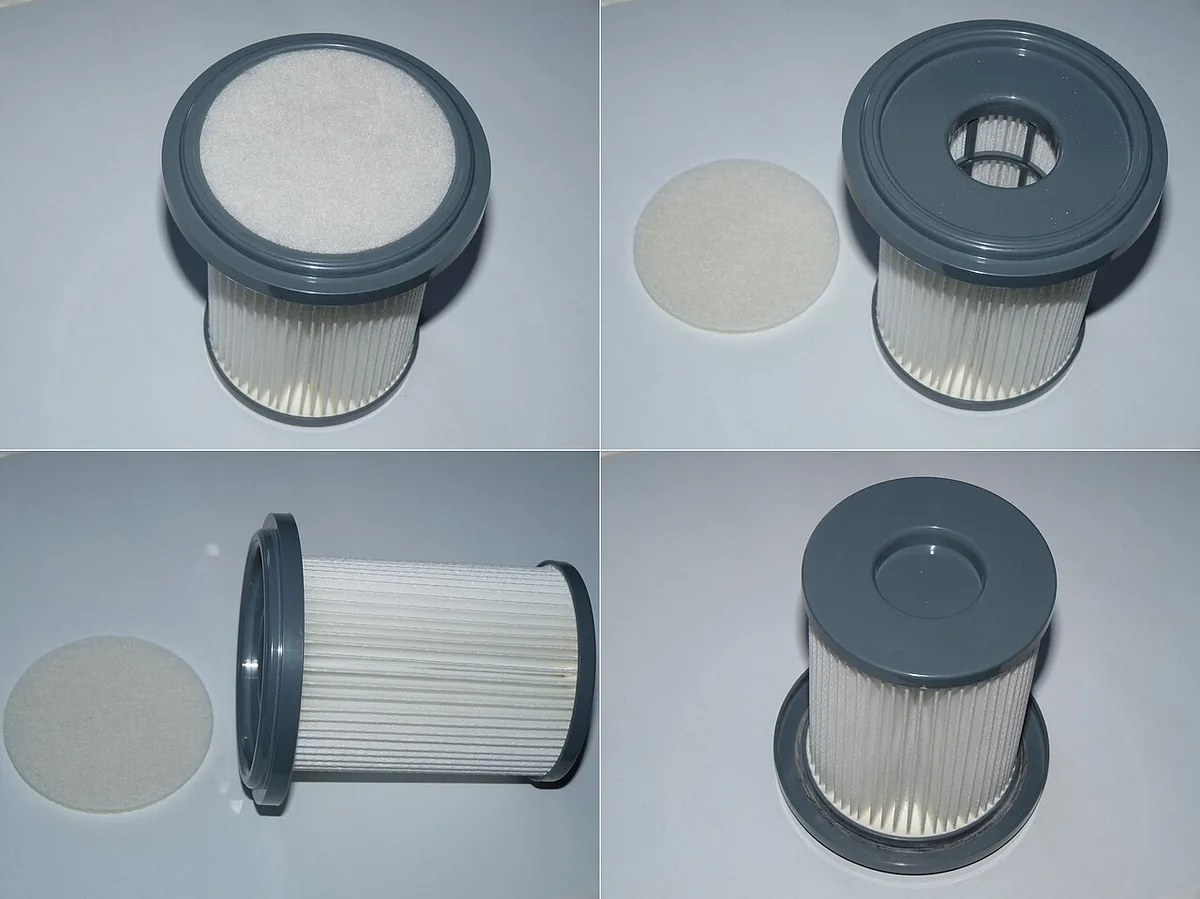
For washable filters covered by Dyson's guidance, complete drying is required before refitting. Plan where a removed part can remain identifiable and undisturbed during that process. Do not mix a drying component with clean ready-to-use accessories. The filter photograph illustrates a separate item that needs its own care record.
iRobot: Roomba Home Base placement ? Dyson UK: cleaning filters ?
Keep a simple restocking and reset system
Put compatible consumables in a labelled container with the exact part reference. Miele's UK finder illustrates the value of matching bags and filters to the machine model. Keep quantities sensible for the space available rather than buying a large bundle solely because its unit price looks lower.
After a normal clean, time the reset. If returning the equipment takes an assumed 3 minutes, five weekly sessions add another 15 minutes to the earlier preparation estimate, giving 35 minutes around the task. Use your own observations to improve the layout. The final storage solution should support the routine, preserve the instructions and leave the home easy to use.
Miele UK: model-specific bag and filter finder ?